
Lets have a discussion… in a single sentence, what is WordPress to you? Don’t worry, I’ll wait whilst everyone argues over whether it’s a blog or a CMS…
*waits*
Right, glad we got that cleared up when we did. In this article I’m going to give you a brief introduction into custom post types, and the great thing is no matter how you decide to use WordPress, custom post types can be damn handy. Lets do this!
What are custom post types?
So before we dive into custom post types, lets start by looking at existing post types, the two most popular being posts and pages. There are also tags, categories and links, of which all have their own handy little uses.
Custom post types are just that, post types that can be defined within your theme. Where most blogs comprise of pages and posts, a more complex site may also include other data such as events, team members or perhaps products, separating this data from posts and pages has its advantages.
Custom post types came along in version 2.9, since then we’ve no longer had to bend WordPress against it’s will to do what we want it to do.
What did we do before custom post types?
Before custom post types were available one would be forced to use posts or pages, stealing functionality such as categories, tags or nested pages to provide enough separation so you could output one content type differently to another.
When stealing functionality such as categories or tags we’re either prevented from using said function for it’s usual purpose, or are made to exclude that hacked post type from usual view. Either way without custom post types we don’t have the freedom and flexibility we require for even a simple website.
Before we start… code structure
So I’m a little picky with code quality, therefore we will not be dumping our loverly code at the bottom of our `functions.php` file, instead I prefer to use a basic file structure to keep my functions file nice and clean.
Inside the theme directory I have (as well as various other theme files):
/functions.php
/functions/custom_post_type_event.php
All the code for our custom post type has it’s own file, super awesome for keeping things clean and organised. With this in mind, I use following code to include that file from within the functions file:
require_once(./functions/custom_post_type_event.php);Throughout this article you may notice I prefix functions (et al) within `td_`, this stands for ‘twelve devs’, a nice namespace to easily identify our code from that of other people or WordPress itself.
There will also be a Github commit link after most sections, handy if you want to see exactly what has changed as we progress.
Custom post types are easy… watch and learn
For our example lets imagine that we want our site to display events alongside posts and pages. We’re don’t want events to be posts within an events category as we want events to be handled separately from posts. We register our custom post type as follows:
<?php

// when wordpress initialises, call our create event post type function
add_action('init', 'td_create_custom_post_type_event', 0);

function td_create_custom_post_type_event()
{

// set the singular and plural label here, we can reuse these below
$name = array(
'singular' => 'Event',
'plural' => 'Events'
);

$args = array(
'labels' => array(
// set the various label values
'name' => $name['plural'],
'singular_name' => $name['singular'],
'add_new' => 'Add ' . $name['singular'], 'report',
'add_new_item' => 'Add New ' . $name['singular'],
'edit_item' => 'Edit ' . $name['singular'],
'new_item' => 'New ' . $name['singular'],
'view_item' => 'View ' . $name['singular'],
'search_items' => 'Search ' . $name['plural'],
// the next two values should be lowercase
'not_found' => 'No ' . strtolower($name['plural']) . ' found',
'not_found_in_trash' => 'No ' . strtolower($name['plural']) . ' found in Trash',
'parent_item_colon' => ''
),
'public' => TRUE,
'publicly_queryable' => TRUE,
'show_ui' => TRUE
);

// register the post type along with it's arguments
register_post_type('event', $args);

}

// end of custom_post_type_event.php
For a basic setup there’s not much too it really, we start off by specifying what function we want WordPress to call during the `init` phase. Within our register post type callback `td_create_custom_post_type_event` we set many different label values and then continue to set various other post type options.
So long as everything has gone okay you should now be able to see the events menu item in the admin menu, when opened it should look just like the posts / pages list:
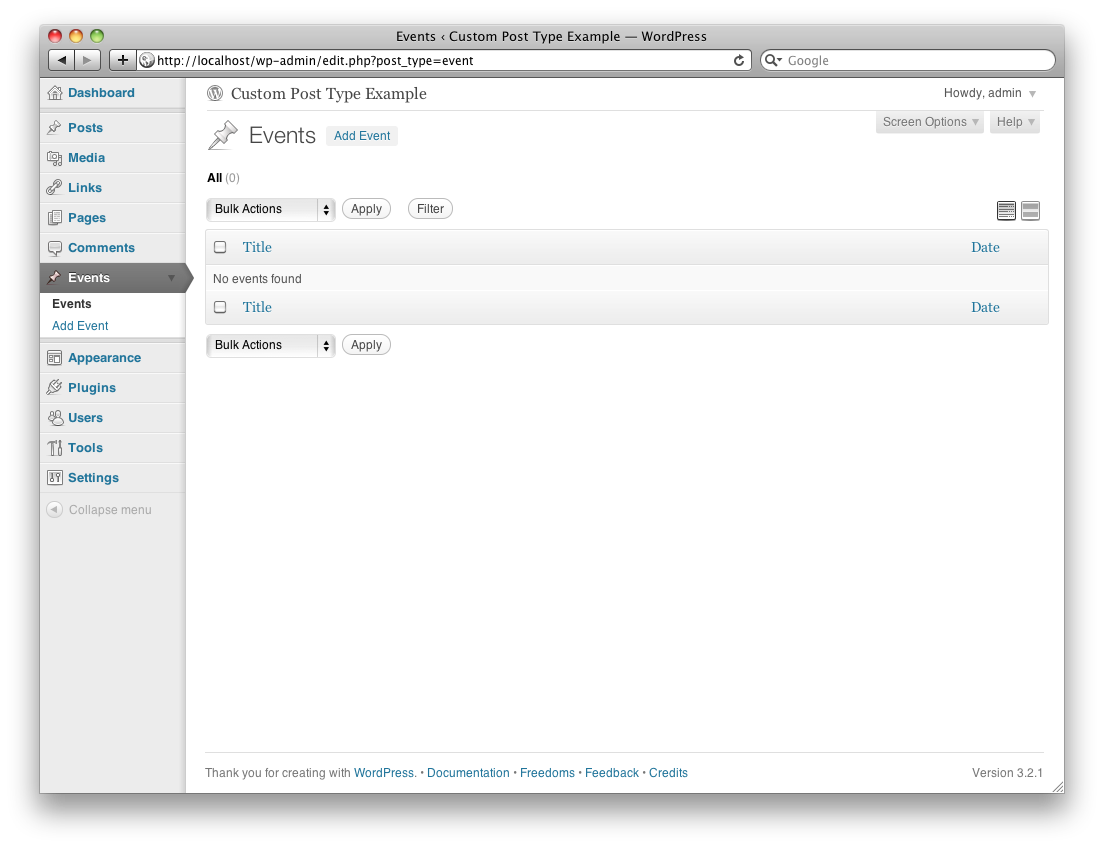
Github commit: Register custom post type
Displaying your custom post type in a loop
Right, so we’ve got our events post type setup and we’ve also added a little content to play with. Now we should look into displaying some of our events, we’ve set up an events page and the appropriate file for it, `page-events.php`.
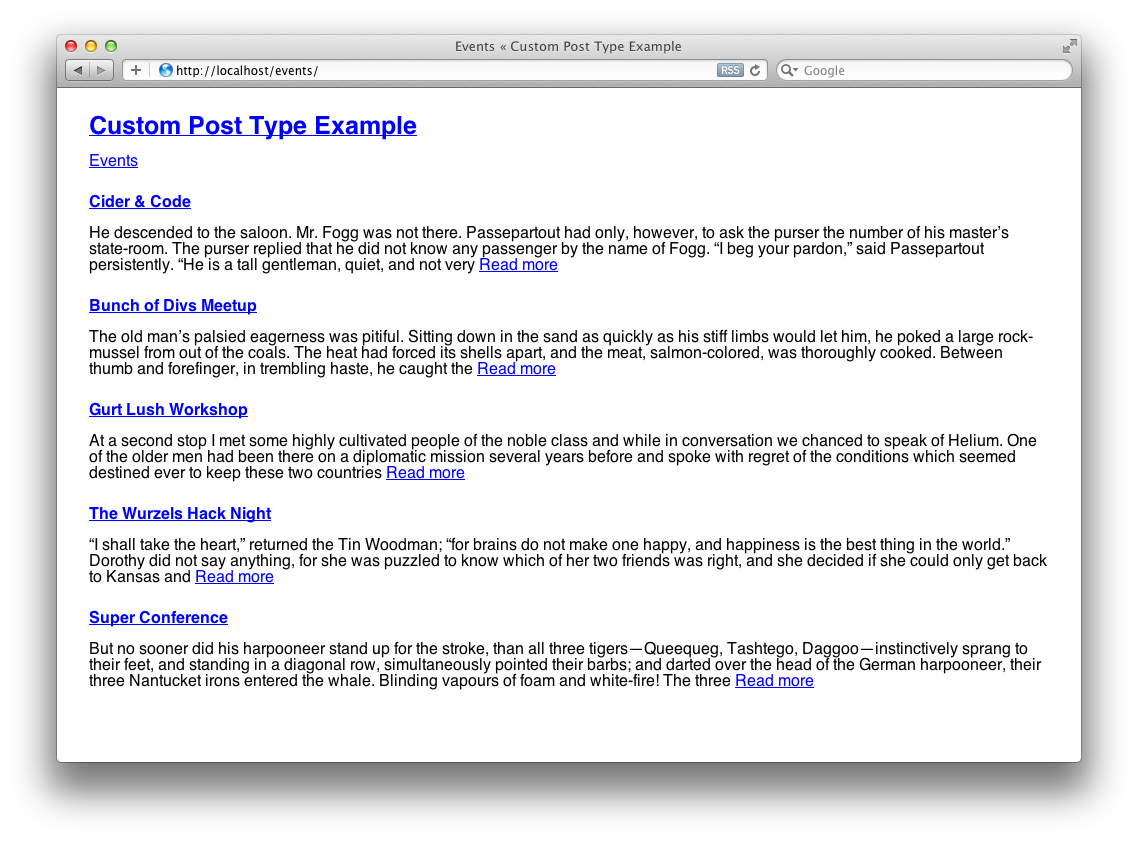
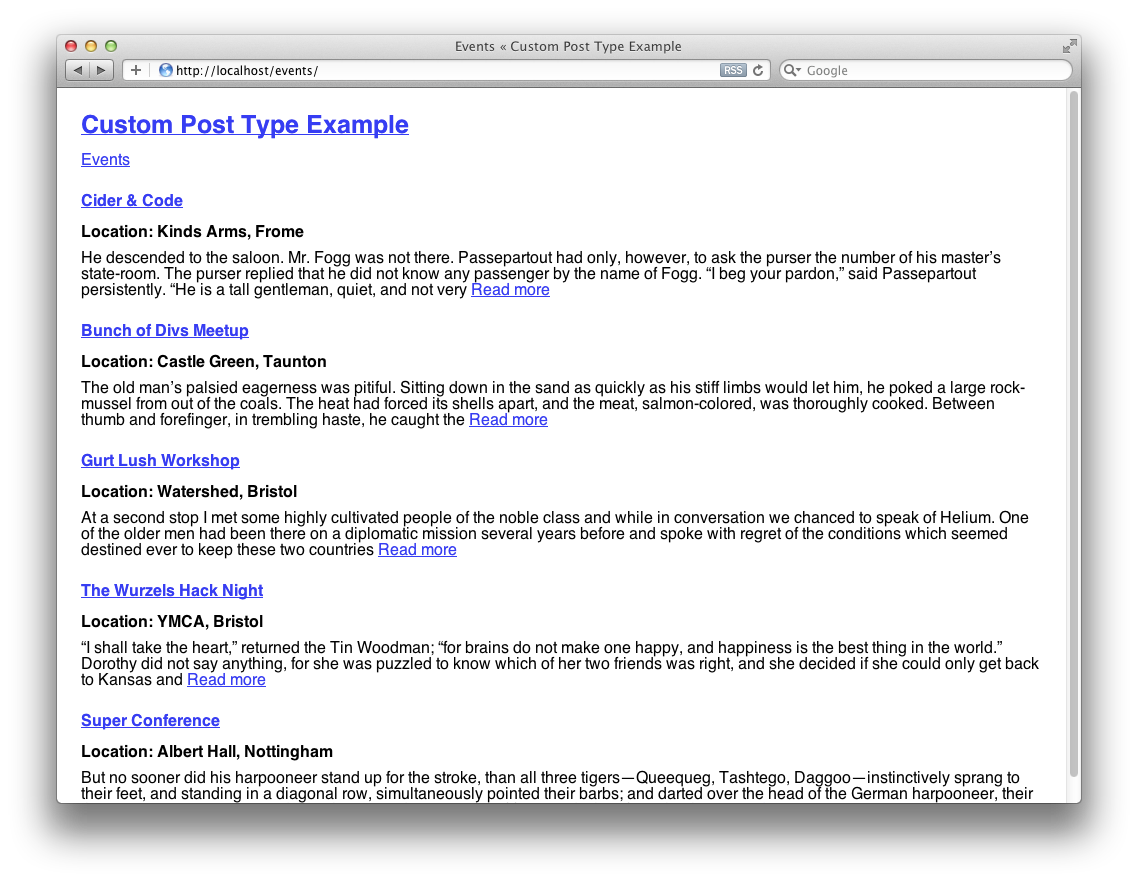
Lets keep things simple, we want to display the 5 latest events, we should output the title and the excerpt, the title should be a link to the specific event page.
<?php // page_events.php ?>

<?php get_header(); ?>

<?php

// for our custom loop, get the last 5 event posts
$the_query = new WP_Query(
array(
'post_type' => 'event',
'posts_per_page' => '5'
)
);

?>

<?php if ($the_query->have_posts()) while ($the_query->have_posts()) : $the_query->the_post(); ?>

<h2><a href="<?php the_permalink(); ?>"><?php the_title(); ?></a></h2>
<?php the_excerpt(); ?>

<?php endwhile; ?>

<?php wp_reset_postdata(); ?>

<?php get_footer(); ?>
Lets explain what we’ve done here, we’ve obviously included the header and footer functions, and in the middle we have a loop setup. Hopefully you’ll know a little about the WordPress loop already, we need to create our own loop to display our events.
So not to mess with the core loop we use the `WP_Query` class for our own custom loop, set the arguments as desired and away we go. It’s worth mentioning that we could spend a week looking at the various options for `WP_Query`, whilst we won’t even scratch the surface in this article it’s recommended you check out what the class is capable of.
After we’ve specified our loop we need to iterate though it, take a look at the following line of code, a breakdown of each part follows:

- An `if()` statement, only execute the `while()` if we have posts
- Loop through the posts
- Initialise each post, this’ll be called once per iteration
You’ll notice we don’t have any curly braces at the start or end of our `while` structure, and that’s because when we follow most control structures with a colon, we can substitute the closing `}` with `<?php endwhile; ?>` (or equivalent). When we’re using little bits of PHP embedded in lots of HTML, the latter method is much easier to read.
Whilst you’re in the loop you can use any normal WordPress function you desire, in this instance we’re outputting the title, the permalink and the excerpt.
Finally we reset the post data as we don’t want our custom loop to interfere with the core loop, of which both use the `$post` variable. If everything has gone to plan, you should now be able to see your content:
We can use a different loop structure to output a message should there be no posts to display:
<?php if ($the_query->have_posts()) : ?>

<?php while ($the_query->have_posts()) : $the_query->the_post(); ?>

<h2><a href="<?php the_permalink(); ?>"><?php the_title(); ?></a></h2>
<?php the_excerpt(); ?>

<?php endwhile; ?>

<?php else: ?>

<h2>Hot dog! There are no events to display</h2>

<?php endif; ?>
Notice we use the same method with the initial `if()` as we do with the `while()`, in that we don’t use curly braces but a colon along with `else:` and `endif;`, as mentioned before this method looks much cleaner when embedding PHP within HTML.
Github commit: Displaying multiple event summaries
View single custom post type
So now people are going to be clicking our event posts we better make sure there’s something for them to view. By default WordPress will use the `single.php` template when displaying custom post type posts, this is fine if we don’t mind our event posts taking the same format as our normal posts.
However, we may want to use a different structure, or perhaps have meta fields where a normal post shouldn’t. According to the WordPress’ template hierarchy we can create the template `single-event.php`, where the string ‘event’ is our custom post type slug. This template will be used before `single.php`, allowing us to separate our content.
When viewing an event, WordPress will populate the core loop for you, so no custom loop will be required this time:
<?php // single-event.php ?>

<?php get_header(); ?>

<?php if (have_posts()) : ?>

<?php while (have_posts()) : the_post(); ?>

<article <?php post_class() ?> id="post-<?php the_ID(); ?>">

<h2><?php the_title(); ?></h2>
<?php the_content(); ?>

</article>

<?php endwhile; ?>

<?php else: ?>

<h2>Hot dog! There are no events to display</h2>

<?php endif; ?>

<?php get_footer(); ?>
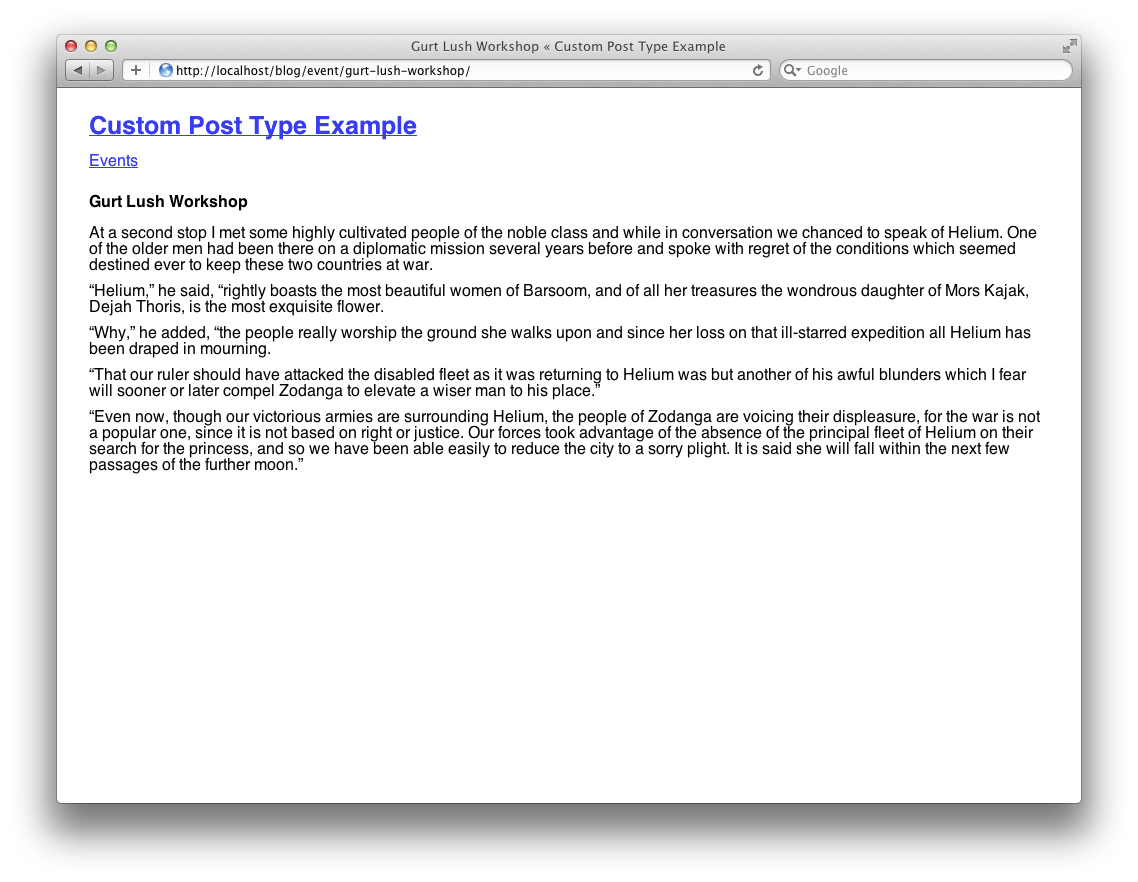
You’ll notice apart from not having to use our own custom loop we’re not doing that much different from when we displayed our events summary in the previous section. You should now see the event detail, with all of it’s content.
As always, use whatever WordPress functions you desire within the loop, we could add author details, meta data or even the comments section.
Github commit: Display single event page
URL rewriting
So now we’ve got our event page working, you may notice the URL looks a little strange, it starts with ‘/blog/’, then the post type and finally the post title. This is because our permalink structure is ‘/blog/%postname%/’, and because we haven’t specified otherwise our current postname is prefixed with the custom post type, for example ‘event/post_title’. This makes the URL ‘/blog/event/post_title’.
As we have an events page, it’ll be nice if our event title appears after the events page in the URL, like this ‘/events/post_title’. We can do that by specifying the `rewrite` value when registering our post type.
`rewrite` takes the value of an array, and there are two items within this array you need to worry about. First, setting `with_front` to be `false` will stop your custom post type URLs using the standard permalink structure, therefore making the permalink ‘/event/post_name’.
You can also specify the `slug` value, this forms the first part of the URL and defaults to the custom post type slug, in this instance the slug defaults to ‘event’, however our events page slug is ‘events’, plural. We will specify the slug too, ensuring the permalinks are all the same.
'rewrite' => array('with_front' => false, 'slug' => 'events')Github commit: Modify event URL structure
Adding meta fields
Meta fields allow the author to enter extra data relating to a post. As we’re dealing with events we might want to attach the event location.
To register a meta box we must specify what callback function to execute in order to get the ball rolling, we do this by providing the `register_meta_box_cb` value when registering our post type:
'register_meta_box_cb' => 'td_register_meta_box'
We can now add the code for our meta fields, this will go underneath the `register_post_type` function:
function td_register_meta_box()
{

// add our meta box, we can have many of these, good for seperating groups of options
add_meta_box('event_options', 'Event Options', 'td_event_options', 'event', 'normal', 'high');

}

function td_event_options()
{

// get our previously saved data, we'll need it to display current option sata
global $post;
$custom = get_post_custom($post->ID);

// generate our nonce string, for security purposes
echo '<input type="hidden" name="td_noncename" id="td_noncename" value="' . wp_create_nonce('td_event_noncename') . '" />';
echo '<input type="hidden" name="td_noncename" id="td_noncename" value="' . wp_create_nonce('td_event_noncename') . '" />';

?>

<div id="td_event_options_table_container1" style="margin: 15px 0 0 0;">
<div id="td_event_options_table_container1" style="margin: 15px 0 0 0;">

<table id="td_event_options_table1" width="100%" cellspacing="5px">
<table id="td_event_options_table1" width="100%" cellspacing="5px">
<tr valign="top">
<tr valign="top">
<td style="width: 20%;"><label for="td_event_location">Location: </label></td>
<td style="width: 20%;"><label for="td_event_location">Location: </label></td>
<td style="width: 20%;"><label for="td_event_location">Location: </label></td>
<td style="width: 20%;"><label for="td_event_location">Location: </label></td>
<td style="width: 20%;"><label for="td_event_location">Location: </label></td>
<td>
<td>
<input type="text" name="td_event_location" id="td_event_location" value="<?php echo $custom['td_event_location'][0]; ?>" />
<input type="text" name="td_event_location" id="td_event_location" value="<?php echo $custom['td_event_location'][0]; ?>" />
</td>
</td>
</tr>
</tr>
</table>
</table>
</div>
</div>

<?php

}

function td_event_options_save_postdata($post_ID) {

// check to ensure dealing with the event post type
if (get_post_type($post_ID) != "event")
{
return $post_id;
}

// check the nonce string matches the one we set earlier
if (!wp_verify_nonce($_POST['td_noncename'], 'td_event_noncename'))
{
return $post_id;
}

// if request is an autosave don't save meta data
if (defined('DOING_AUTOSAVE') && DOING_AUTOSAVE)
{
return $post_id;
}

// Check permissions
if ('page' == $_POST['post_type'])
{

if (!current_user_can('edit_page', $post_id ))
{
return $post_id;
}

}
else
{

if (!current_user_can('edit_post', $post_id ))
{
return $post_id;
}

}

// save data
update_post_meta($post_ID, "td_event_location", $_POST['td_event_location']);

}

// when the save_post action is executed, tell wordpress to execute our save function (above)
add_action('save_post', 'td_event_options_save_postdata');
The best way to explain the above code is to think of it in two stages, the first being the displaying of the meta fields, the second being the saving of those fields.
When we registered our post type we have told WordPress to call the `td_register_meta_box` function, here we have the opportunity to add multiple meta boxes, however we’re only going to add one using the `td_event_options` function. We can also set each meta boxes title and priority here.
Finally we have our save function, which contains numerous `if` statements to check the save is valid and secure. If everything is looking good we can save each field individually.
Now we’ve done that we should now see the location option on our event post editor. We’re going to add a location value and save.
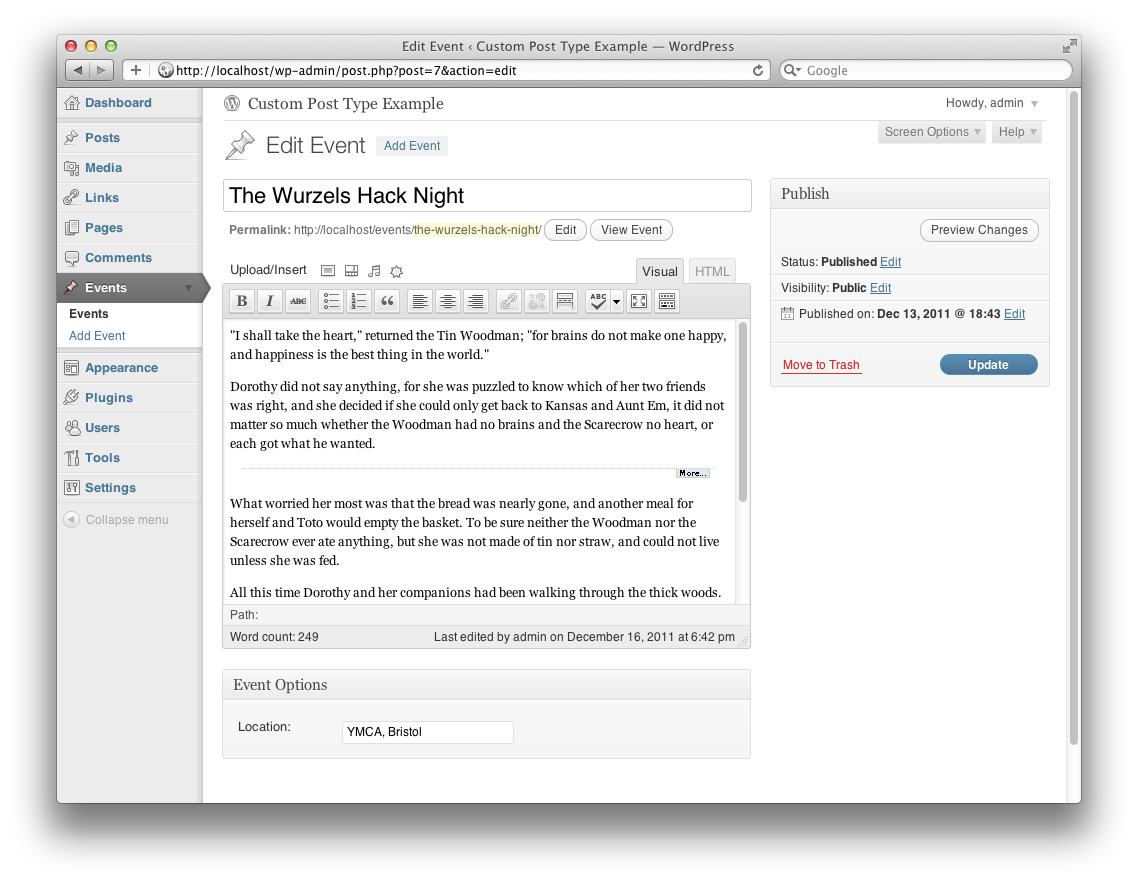
Github commit: Added meta fields to event
Displaying meta fields
So now we’ve set our location data, it’d be good if we could display each event’s location value on the summary and detail page.
This is quite simple, within our loop we start by retrieving the custom data:
<?php $custom = get_post_custom(); ?>
When we’re in a loop we don’t need to specify the post ID for the `get_post_custom()` function, unless we’re trying to get the data for another post. Next we can check if our meta field has been set, and if so, output it:
<?php if (!empty($custom['td_event_location'][0])) : ?>

<p><strong>Location: <?php echo $custom['td_event_location'][0]; ?></strong></p>

<?php endif; ?>
The location data should now be visible beneath the title.
We could use this data for other purposes too, perhaps a flickr set ID or an email address for a team member.
Github commit: Add meta field value to event summary and detail
Menu Position
By default, custom post types are added to the admin menu in order of their initialisation beneath the comments menu item. It is possible to specify where each custom post type menu item is positioned within the admin menu.
To do this we specify the `menu_position` option when registering our post type, it takes an integer value with the following possible options:
5 – below Posts
10 – below Media
15 – below Links
20 – below Pages
25 – below comments
60 – below first separator
65 – below Plugins
70 – below Users
75 – below Tools
80 – below Settings
100 – below second separator
We’d quite like to position our events menu item at the very bottom, therefore we’ll use the following code:
'menu_position' => 100
Now the events menu item appears below the second separator:

With these position options our custom post type menu item can be positioned anywhere within the admin menu, handy if you think grouping your post type with the posts and pages items will help your clients.
Github commit: Position event menu item
Changing the menu icon
By default the icon for all custom post types is the pin icon:
We can change the icon by setting the `menu_icon` option when registering our post type. Supply the value with the location of the 16×16 icon as follows:
'menu_icon' => get_bloginfo('template_url') . '/admin/event_icon.png'
The issue with this method is unlike the other post type icons (post, pages etc) this doesn’t allow for the use of sprites for hover states, however WordPress does apply a slight opacity when the icon isn’t being hovered over, so it’s not all bad.
Github commit: Change event menu item icon
RSS
Custom post types have their own RSS feed, and as new items won’t appear in the standard RSS feed it might be worth promoting our events feed too.
We use the following URL to access a custom post type feed:
http://localhost/feed/?post_type=event
Simply substitute the ‘event’ string for the slug of any custom post type to access that feed.
To sum up…
Well there we have it, one brief introduction to WordPress custom post types, I hope you found it informative. Throughout this article you may have seen links to specific Github commits, this is so you can see exactly what I changed between sections.
You’re also welcome to take the article’s example theme and play around with it. This theme was based on Slim Starkers by Paul Adam Davis.
I also suggest checking out the following links, they should give you a wider understanding of custom post types, `WP_Query` and the template hierarchy.